 Chopsticks Guide
How to Rubber Band Chopsticks for Beginner Practice
Learn how to set up rubber band chopsticks with a paper spacer, practice beginner movement safely, and know when to remove the aid.
Quick Answer: To rubber band chopsticks, align the tips, place a folded paper spacer near the upper third, wrap a soft intact band around the thicker ends and spacer, then practice opening and closing with large easy objects. The aid should be temporary, supervised for children, and removed as control improves.
Rubber band practice-aid facts
- Aid type
- Temporary beginner support for learning open-close chopstick movement.
- Materials
- Two intact chopsticks, a soft rubber band, and a folded paper spacer.
- Best use
- Large practice pieces on a stable table before small food.
- Supervision
- Small children need adult setup and supervision.
- Stop signal
- Stop for snapping, slipping, splinters, sharp paper edges, or hand pain.
- Practice boundary
- The aid helps early movement but does not replace normal grip practice.
Step 1: Choose safe materials for the practice aid
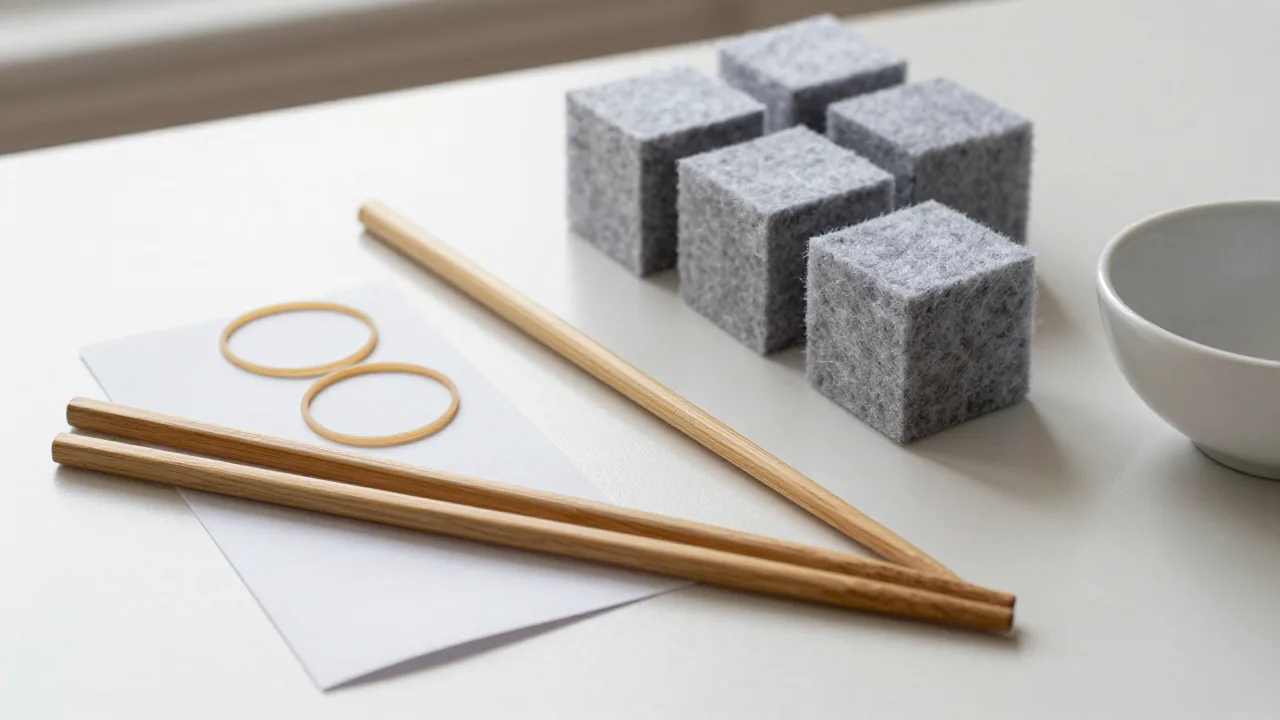
Use clean chopsticks with smooth surfaces, an intact rubber band, and a small folded paper spacer. The band should stretch without cracking, and the paper should be large enough to hold shape without sharp corners.
This setup is for practice. It should not be given to small children without adult help because rubber bands and folded paper can slip, snap, or become small loose parts.
Begin with large soft practice pieces on a stable table. Tiny foods make the first session harder and can distract from the movement you are trying to learn.
Step 2: Align the chopsticks and paper spacer
Place the two chopsticks side by side with the eating tips aligned. Keep the thick ends together and check that the tips point in the same direction instead of crossing.
Put the folded paper spacer near the upper third of the chopsticks, behind the area where your fingers will control the sticks. The spacer should create gentle separation, not force the sticks wide open.
If one chopstick is warped or slippery, switch to a cleaner pair before wrapping the band. A poor starting alignment makes the trainer harder to control.
Step 3: Wrap the rubber band without over-tightening
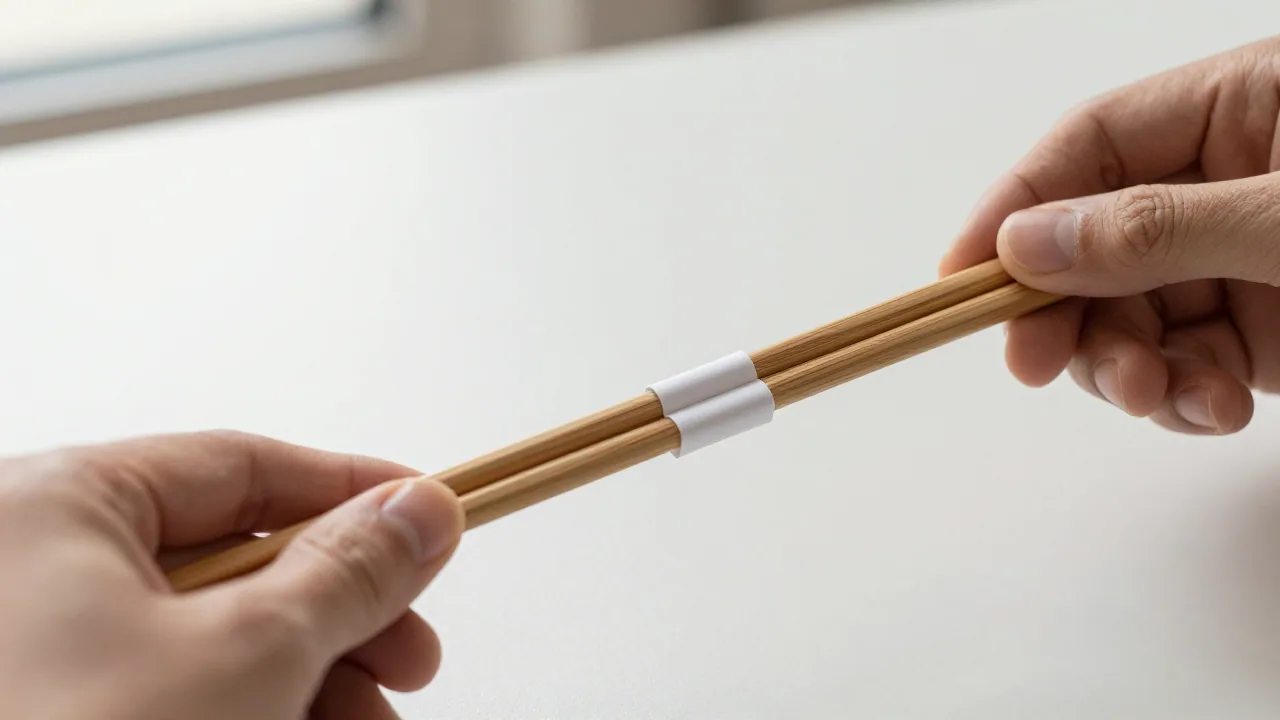
Wrap the rubber band around the thicker ends and the spacer. Use enough tension to hold the pieces together while still allowing the tips to open and close with light finger pressure.
A band that is too tight can bend the sticks, tear the spacer, or snap back. A band that is too loose lets the spacer slide toward the tips. Adjust before putting the setup in your hand.
Check that the band lies flat and does not create a sharp twisted edge where your hand rests.
Step 4: Practice opening and closing with large objects
Hold the lower chopstick steady against the base of the thumb and ring finger. Move the upper chopstick gently with the thumb, index finger, and middle finger. The band should guide the hinge motion without doing all the work.
Practice opening and closing above the table first, then lift large soft objects. Focus on a relaxed hand and parallel tips rather than speed.
If the setup snaps closed or throws the object, reduce band tension or use a wider spacer. The motion should feel controlled, not spring-loaded.
When to loosen or remove the rubber band
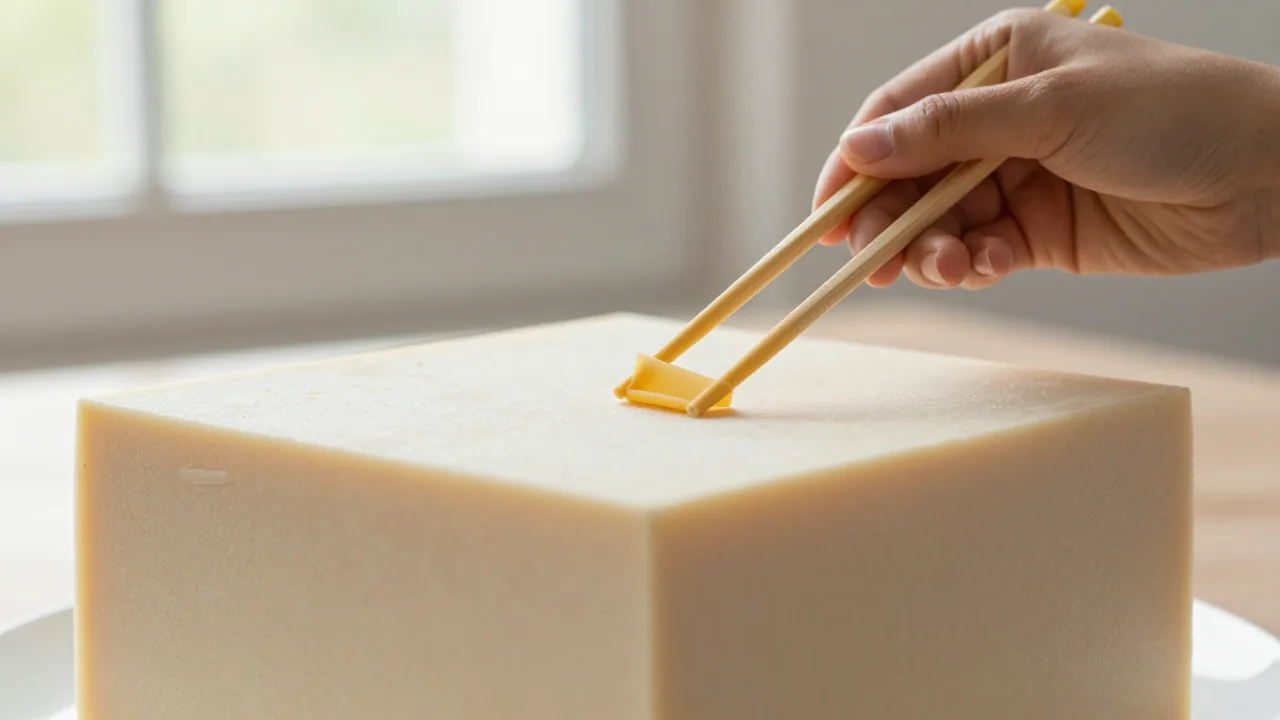
Once you can open and close the tips with less wobble, loosen the band or reduce the spacer thickness. The goal is to transfer control to your fingers, not keep the trainer forever.
Try short sessions without the band between aided sessions. If control disappears immediately, return to the aid briefly and focus on the lower chopstick staying quiet.
Stop using the aid if it causes pain, pressure marks, splinters, or frustration. A slower grip lesson may work better than a tighter band.
Troubleshoot slipping, crossing, or hand pain
If the paper spacer slides, move it back toward the thick ends and wrap the band flatter. If the tips cross, realign the sticks before practicing again.
If the band keeps snapping, it is too old, too tight, or too small for the chopsticks. Replace it rather than adding more wraps.
Hand pain usually means you are squeezing too hard or holding the sticks too far back. Relax the grip, use larger practice pieces, and take breaks.
Rubber band chopstick setup checklist
- Chopsticks are clean, smooth, and aligned at the tips.
- Paper spacer sits near the upper third, not near the eating tips.
- Rubber band is intact, flat, and not over-tightened.
- Practice objects are large and easy to grip.
- The aid is loosened or removed as control improves.
Rubber band chopstick questions
Where should the rubber band go on chopsticks?
Place it near the thicker upper ends around the folded paper spacer, far enough from the eating tips that the tips can still open and close.
Can children use rubber band chopsticks?
Only with adult setup and supervision. Rubber bands and paper spacers can snap, slip, or become loose small parts.
What can I use as a paper spacer?
A small folded piece of clean paper can work if it is thick enough to hold separation and has no sharp or loose edges.
Why do the tips cross after adding the band?
The chopsticks were likely misaligned, the spacer moved, or the band tension is uneven. Realign the tips and wrap the band flatter.
When should I stop using the aid?
Start removing it when you can open and close the tips with control. Stop immediately for pain, slipping, splinters, or a snapping band.